
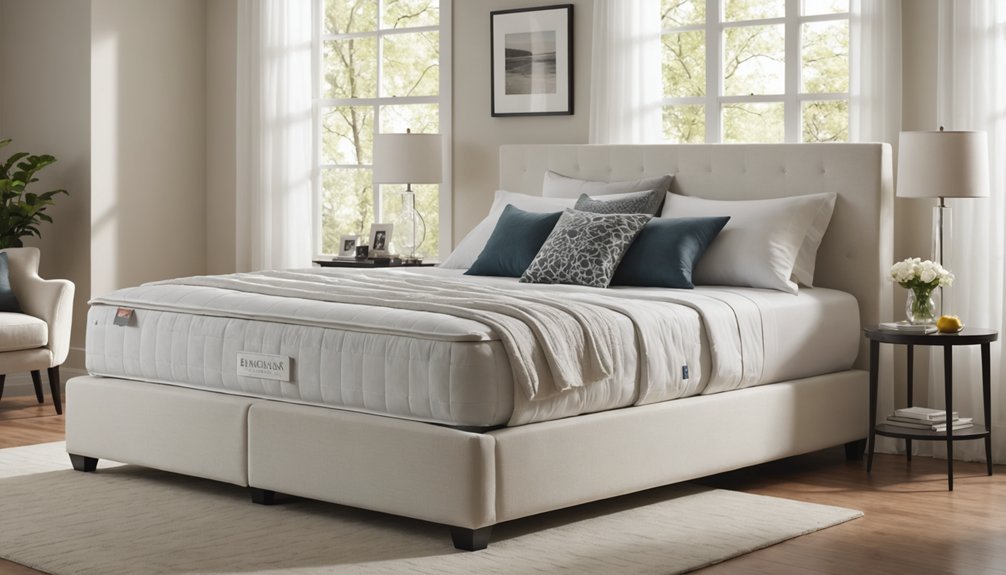
How to Use Mattress & Box Spring Encasements
You’ve probably noticed those mysterious white covers at bedding stores promising to protect your mattress, but you’re not quite sure if they’re worth the investment. As it turns out, mattress and box spring encasements aren’t just another marketing gimmick – they’re essential tools for extending your bed’s life and maintaining a healthy sleep environment. Before you dismiss them as unnecessary extras, let’s explore why these protective barriers deserve your attention.
Key Takeaways
- Remove all bedding and vacuum the mattress thoroughly before installing encasements on both mattress and box spring separately.
- Measure your mattress dimensions accurately to select properly fitting encasements that match standard sizes like Twin or Queen.
- Position mattress upright against wall for easier installation, ensuring zipper faces downward and closes completely with securing clasps.
- Clean encasements every 1-3 months using mild detergent in cold water, avoiding bleach and fabric softeners.
- Regularly inspect encasements for tears, holes, or decreased elasticity, replacing them when protective performance is compromised.
Understanding the Benefits of Mattress Protection

While many people focus on mattress comfort, protecting your mattress with a high-quality encasement offers essential health and wellness benefits.
You’ll create a barrier against dust mites, bed bugs, and harmful chemicals while maintaining a healthier sleep environment. Quality encasements prevent allergens from accumulating in your mattress, which can help reduce nasal symptoms and respiratory issues.
Sleep better knowing your mattress encasement blocks harmful allergens and pests, helping prevent respiratory issues and creating a healthier environment.
Your mattress encasement will act as a physical barrier that traps existing bed bugs and prevents new infestations, making it an effective pest management tool. The tightly woven fabric creates an impenetrable shield that bed bugs cannot breach.
It’ll also help regulate skin temperature and moisture, potentially reducing the risk of pressure ulcers. Additionally, you’ll block exposure to common mattress toxins like flame retardants, PVCs, and phthalates.
This all-encompassing protection guarantees you’re investing in both your mattress’s longevity and your overall wellbeing.
Selecting the Right Size and Material
Take accurate measurements of your mattress’s length, width, and depth before purchasing an encasement, as even small sizing errors can lead to inadequate protection or poor fit.
For optimal protection, ensure your encasement matches standard mattress dimensions like Twin 38×75 inches or other common sizes.
You’ll need to match these measurements with an encasement that specifically accommodates your mattress dimensions, paying special attention to depth ranges for pillow-top or specialty mattresses.
Consider your local climate when selecting materials, opting for breathable fabrics in warm regions or waterproof barriers in humid environments.
Measure Before You Buy
Selecting the right mattress encasement starts with accurate measurements of your mattress or box spring. Remove all bedding and use a flexible measuring tape to record the width, length, and thickness at the thickest point.
Don’t forget to account for any mattress toppers you’ll use.
You’ll need to match your measurements to the standard sizes: Twin (38-39″ x 74-75″), Twin XL (38-39″ x 80″), Full (54″ x 75″), Queen (60″ x 80″), King (76″ x 80″), or California King (72″ x 84″).
When measuring box springs, check all six sides to guarantee complete protection. The micro plush polyester material ensures both comfort and durability while protecting against pests.
Choose an encasement that matches your exact size category, and pay attention to depth specifications, which typically accommodate up to 18 inches.
If you’re between sizes, look for “universal fit” or “stretch knit” options that offer size ranges.
Materials For Your Climate
After determining your mattress size, the climate where you live plays a key role in choosing the right encasement material.
In hot, humid environments, you’ll want to select breathable fabrics like stretch-knit polyester or natural cotton that promote air circulation and moisture-wicking. These materials help prevent heat buildup while you sleep.
For temperate or rainy climates, look for synthetic blends that combine waterproof protection with breathability. These typically feature a polyurethane inner layer with a breathable outer shell. The patented zipper hook ensures complete closure for maximum protection against moisture.
If you live in a colder region, consider encasements with insulating properties, though these are less common.
Whatever climate you’re in, make certain your encasement has proper allergen and pest protection by choosing products with double-seam stitching and micro-toothed zippers with velcro flaps.
Step-by-Step Installation Guide
Before installing your mattress encasement, you’ll need to strip the bed completely and check for any sharp objects that could damage the cover.
Position the mattress either on its side or leaning against a wall, then carefully slide the encasement over it with a partner’s help to avoid stressing the zipper.
Once fitted, make sure to fully zip and secure all closures with the provided locking mechanisms to create an effective protective barrier. Proper installation of the cover is essential since Bed Bug Certified encasements provide proven protection against bed bugs and other pests.
Prepare Your Bed
Since proper installation of mattress encasements is essential for their effectiveness, you’ll need to prepare your bed systematically.
Start by removing all bedding, including sheets, pillowcases, and mattress pads, placing them in a sealed laundry bag to prevent any spread of bed bugs or allergens.
Inspect your mattress and box spring carefully for damage, paying special attention to protruding staples or plastic end caps.
Remove or pad any sharp edges that could tear the encasement fabric.
Next, thoroughly vacuum both the mattress and box spring to eliminate dust, debris, and potential pests.
Position your mattress upright against a wall or sturdy surface for easier encasement application.
If possible, get someone to help you lift and maneuver the mattress and box spring, as this will reduce stress on the encasement materials.
Fit The Encasement
Installing your mattress encasement properly requires careful attention to several key steps. First, position your mattress upright in an accessible area after removing all bedding. Then, unzip the encasement completely and align its corners with the mattress top, ensuring the labeled ends match correctly.
- Slide the encasement down gradually with a partner’s help, moving inch by inch on both sides to prevent fabric stress and zipper damage.
- Smooth the fabric around corners while working your way down, ensuring even coverage without bunching.
- Once fully enclosed, secure all zippers and engage any locking mechanisms like hooks or zip ties.
Finally, lay the mattress back on the frame and inspect all corners and edges for proper alignment, making sure there aren’t any exposed surfaces or potential puncture points.
Secure All Closures
Proper closure of your mattress encasement is essential for maintaining a protective barrier against bed bugs, allergens, and other contaminants.
Starting from the mattress head, zip the encasement shut using slow, steady movements to prevent zipper separation or damage. Confirm the zipper slider reaches the track’s end and fully enters the zipper tunnel.
Check for any gaps, caught fabric, or loose ends along the closure line. If your encasement includes a BugStop seal, apply it over the zipper end.
Make certain the protective flap or tunnel completely covers the zipper teeth for maximum waterproofing and pest protection. Don’t forget to tuck in excess fabric neatly to prevent bunching that could compromise the seal.
Regularly inspect the closure area for wear or damage that might affect its effectiveness.
Proper Care and Maintenance Tips
To maximize the lifespan of your mattress encasement and maintain its protective qualities, you’ll need to follow specific care and maintenance guidelines.
Wash your encasement every 1-3 months in cold or lukewarm water using mild detergent, avoiding bleach and fabric softeners that can damage the waterproof membrane. Between washes, you can vacuum or wipe down the surface with a damp cloth to remove dust and allergens.
- Always unzip the encasement before washing and use gentle cycles to preserve the waterproof barrier.
- Air dry or tumble dry on low heat, ensuring the encasement is completely dry before reinstalling.
- Clean spills immediately by wiping with a damp cloth, and pre-treat stubborn stains with mild detergent before washing.
Signs It’s Time to Replace Your Encasement
While regular maintenance helps extend your mattress encasement’s life, knowing when to replace it’s equally important for maintaining ideal protection.
Watch for visible damage like holes, tears, or open seams that compromise the barrier against allergens and bed bugs. If you notice persistent odors or stains that won’t come out with cleaning, it’s time for a replacement.
Your encasement needs replacing when you observe decreased protective performance, such as poor fit, reduced elasticity, or visible dust inside the cover.
Most encasements last 2-5 years, but frequent washing or heavy use can shorten this timespan.
Pay attention to health indicators – if you’re experiencing increased allergy symptoms, respiratory issues, or sleep discomfort, your encasement may no longer be providing adequate protection.
Best Practices for Long-Term Protection
Implementing effective long-term protection for your mattress starts with proper encasement installation and maintenance.
To maximize your encasement’s effectiveness, you’ll need to handle it carefully during installation and guarantee regular upkeep using appropriate cleaning methods.
1. Install encasements on both your mattress and box spring separately, making sure the zipper faces downward and closes completely.
Don’t forget to use any included securing clasps.
2. Clean your encasements with mild detergents on gentle cycles, avoiding harsh chemicals and high heat that could compromise the protective barrier.
3. Keep your bed area clutter-free and inspect encasements regularly for tears or zipper issues.
When you spot damage, repair or replace immediately to maintain continuous protection against pests and allergens.
Conclusion
You’ll extend the life of your mattress and enjoy better sleep by properly using mattress and box spring encasements. Remember to check the fit regularly, clean according to care instructions, and inspect for damage every few months. If you notice tears or broken zippers, replace your encasements immediately. With proper maintenance, your encasements will provide lasting protection against allergens and pests.